How to Configure And Forget About Unchecky
When circumstances give me a few minutes with other people's Windows computers, the first thing I check for (after looking at the hardware specs) is bloatware. Bloatware is the extra, unnecessary, third-party software which many computers come pre-bundled with. In most cases, I advise people to uninstall everything that isn't directly from Microsoft, and in the case of Windows 10, many of the things that are. However, there was one piece of "bloatware" I found on a friend's Acer laptop which I immediately went and installed on all my computers.
Introducing Unchecky:
Unchecky aids in the prevention of the installation of potentially unwanted programs (PUPs) by automatically unchecking additional offers it detects in installers. PUPs which try to trick you into agreeing to install them through checkboxes in other software's installers are called bundleware. If you've never heard of bundleware before, chances are pretty high you have some. For example, carelessly installing Adobe Reader - the brand name pdf reader - gets you a free (!) copy of McAfee Security Scan Plus. I would call that malware in a second, if not for the risk of being sued. With unchecky, you'll have an extra level of protection against such accidental installs in the future.
Unchecky can be configured to run in the background without bothering you at all. It even updates itself automatically when necessary.
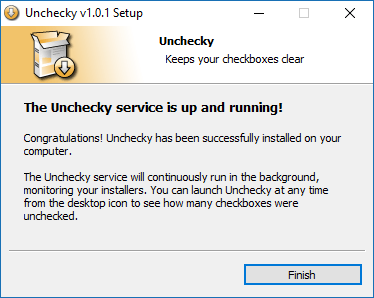
First, download Unchecky from that direct link or via the download button in the middle of this page. Run the installer. The unchecky installer is very basic. Simply press install, authorize it with an admin account, and that's it! You can optionally change the installation language or press advanced options and change the installation location, but in the vast majority of cases, the defaults are fine.
At this point, unchecky is installed, but will pop up with notifications when it notices an attempt to install PUPs. In general I think its better to suppress them, unless you constantly get bundleware on your PC and want to be warned when you might have missed a checkbox to uncheck.
At your option, delete the unchecky desktop shortcut. You can always find unchecky in the start menu if you need to poke it later or check the log.
Open Unchecky from the start menu or system tray. Click the Settings button, check both boxes, and click apply.

For future reference, go back to the Home tab and click "Activity Log." This is where Unchecky will keep a log of what it's prevented from being installed. Yours is presumably empty at the moment. If you set the installer to hide warnings as per my recommendation, consider setting a reminder in your calendar to check back in a month or two and see if Unchecky helped you avoid any bundleware.
In conclusion, Unchecky is a lightweight, wonderful piece of software. We've configured it to work its magic in the background, without getting in your way. At the very least it will save you a few clicks now and then, and at most it may prevent you from installing something you didn't want which may be hard to remove. Whatever the case, its important to be cognizant of the fact that many download providers will try to bundle additional software in their installers. After all, they get paid. Look out for these tricks whenever you run any installer. However, with Unchecky, you're a little bit safer.